Homemade items or “hand-made” - the most popular type of wall decor at all times. Such products give the home uniqueness and originality. Anyone who is able to hold scissors and a needle with a thread is capable of making textile toys, original paintings from fabric. But the most important thing is that to create such an ornament you practically do not need to spend money - you will find everything you need at home.
Content
- Types, techniques of paintings from fabric
- Workshops on creating fabric work
- Tools, materials, techniques for painting in the Kinusaiga technique
- Tools, materials, instructions for the patchwork, quilting techniques
- Materials, tools, step-by-step instructions for jeans
- Tools, materials, instructions for creating pictures in the technique of "wet cloth"
- Materials, tools, instructions for making paintings from felt step by step
- Tools, materials, step-by-step instructions for paintings in the Osie technique
- How to care for fabric paintings
- Conclusion
Types, techniques of paintings from fabric
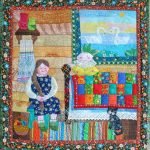
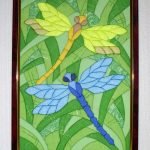
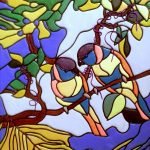
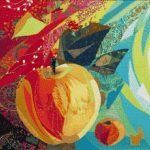
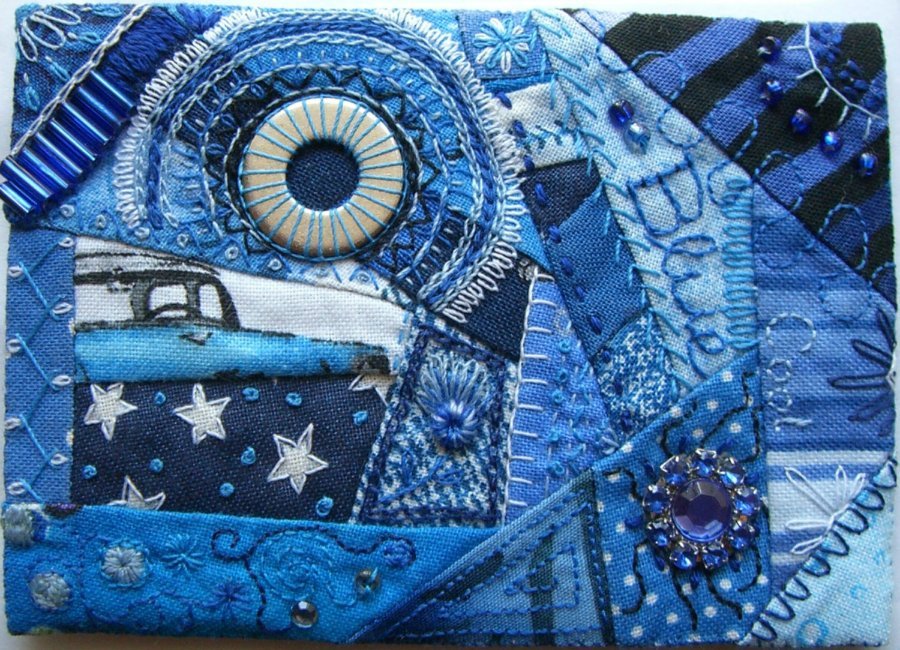
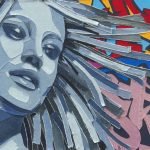
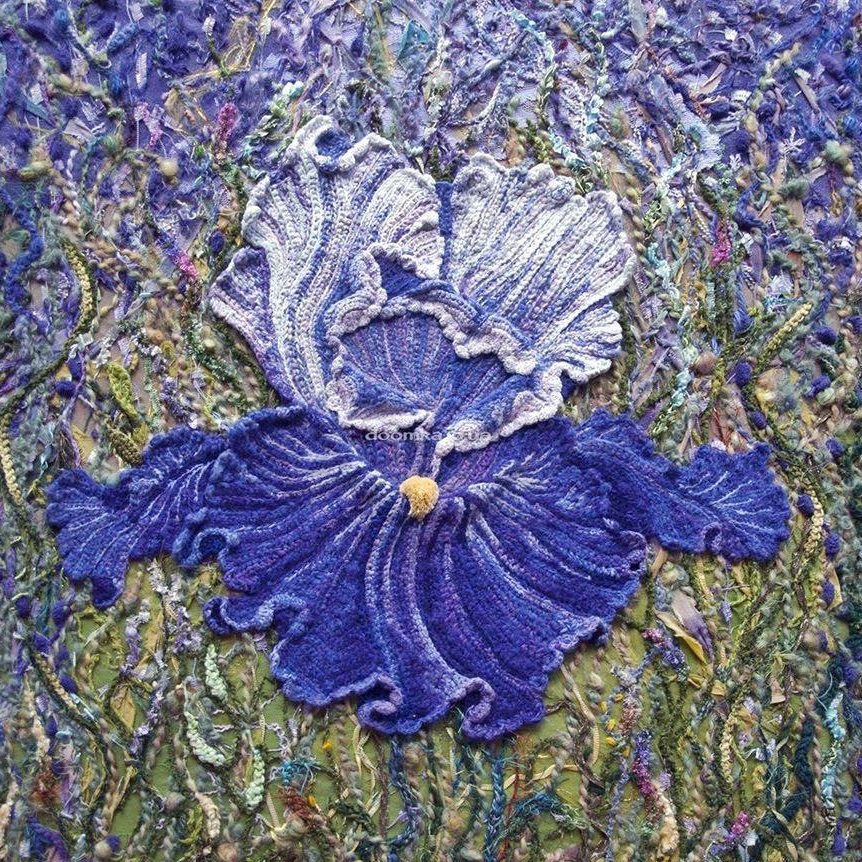
Textile paintings are very diverse in appearance: some resemble stained glass, painted on natural silk, others look like tapestries, voluminous applications. As an art, the manufacture of such products first appeared in Japan, later in England and America. In Russia, the countries of the "former union", fabric sewing is one of the popular hobbies available to almost everyone.
There are many techniques for creating flat, three-dimensional panels of textiles:
- Kinusaiga
- "Axis";
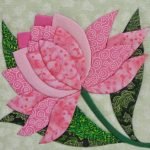
- "patchwork";
- "Quilting";
- String art;
- from lace;
- from felt;
- “Wet cloth”;
- from jeans;
- volumetric options.
You should start with a pencil sketch on paper, and then choose the most suitable technique.
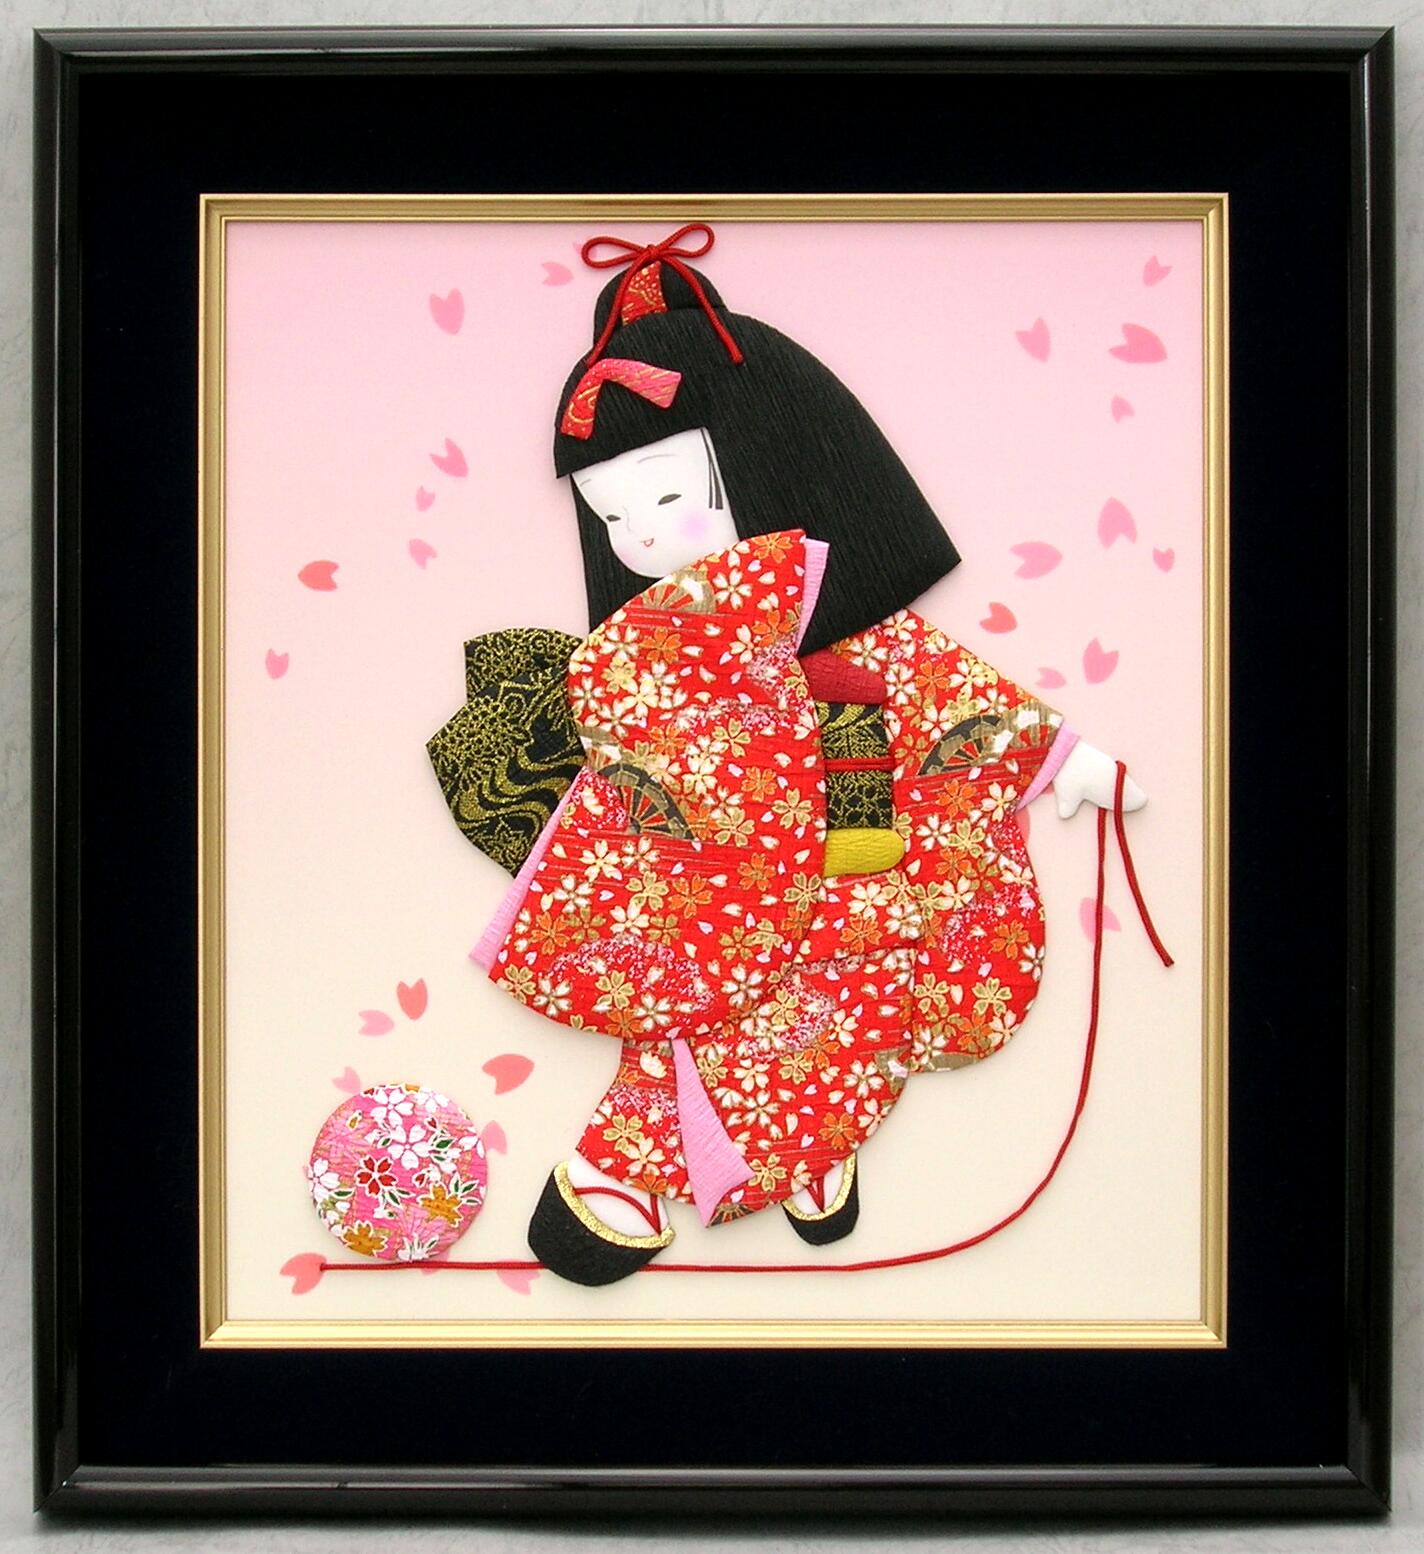
"Osie" - an ancient Japanese type of needlework
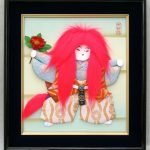
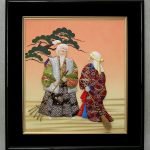
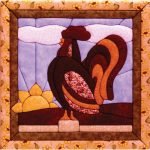
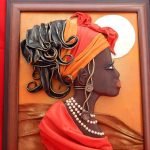
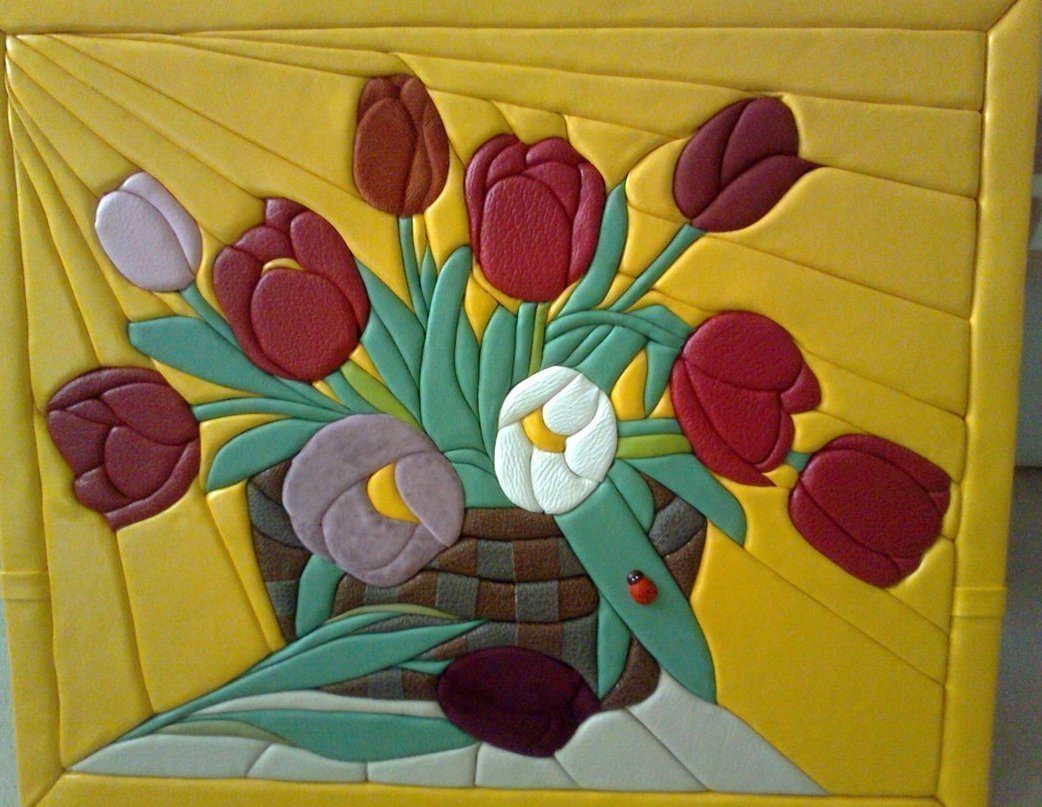
Handicraft art "axis" originated in Japan somewhere in the 17th century, but to this day has not lost its relevance. Pictures are made of pieces of thick cardboard wrapped in shreds from old kimonos. Later, special plastic paper made of mulberry fibers began to be used for “axe”. The traditional pictures here are children in national clothes, samurai, geisha, as well as story panels based on Japanese fairy tales. Pieces of fur, leather, various laces, and beads are often used as additional decor.
Japanese Kinusaiga Technique
Japanese culture is different in that almost any activity there turns into a real art. Historically, materials for the Kinusaig technique were taken from old kimonos that were a pity to just throw away. The peculiarity of the peculiar “patchwork without a needle” is that it is not necessary to stitch the parts together.Silk fabric used for sewing a kimono - the material is quite durable and expensive. The traditional theme of “kinusaiga” - landscapes, including rural, portraits, still lifes are performed much less often.
Instead of expensive silk, any other fabric is acceptable.
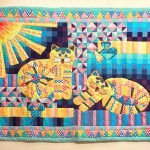
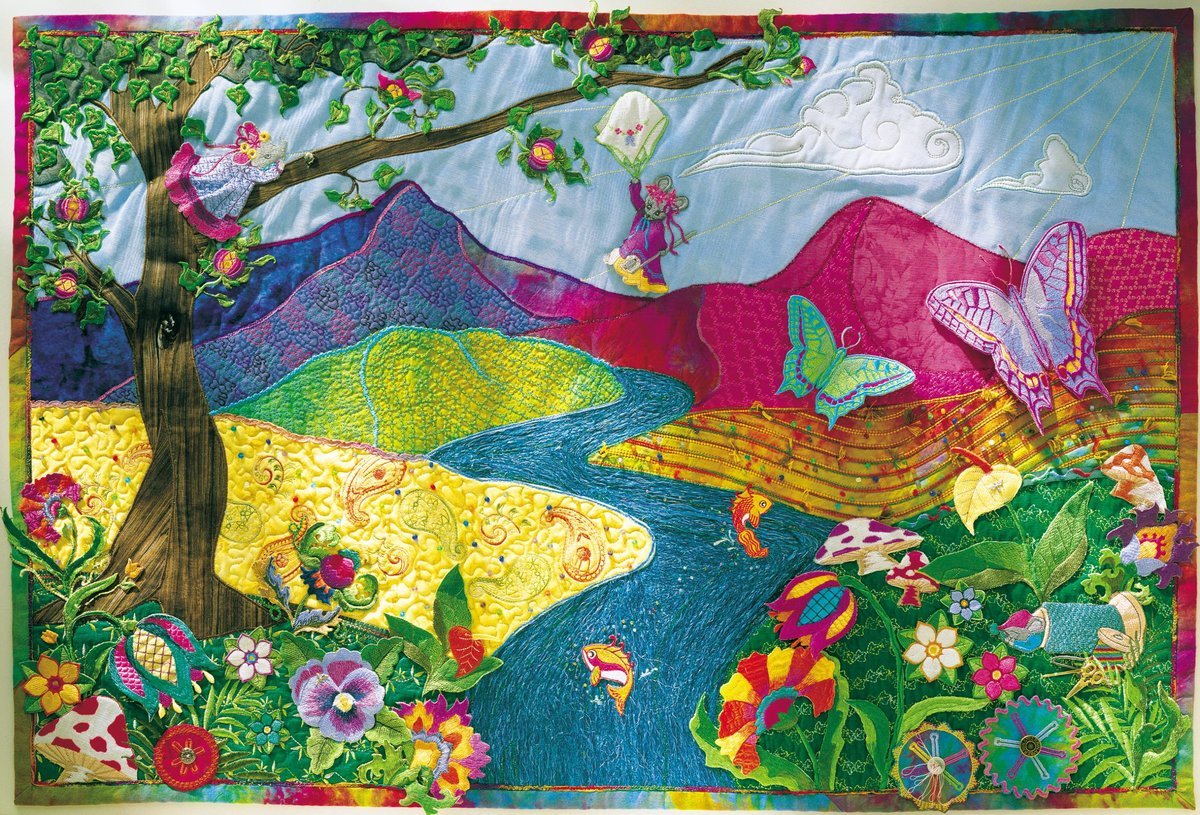
Quilting patchwork
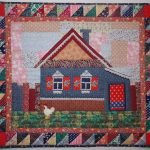
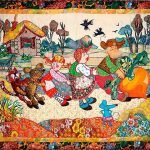
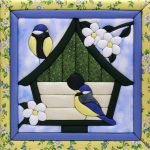
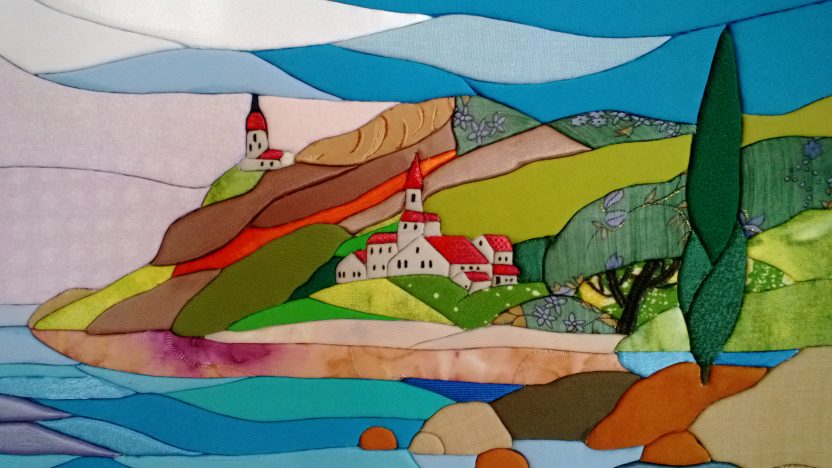
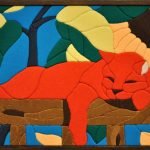
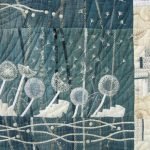
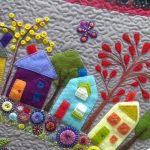
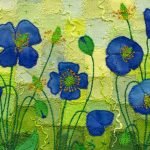
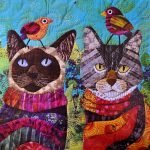
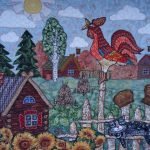
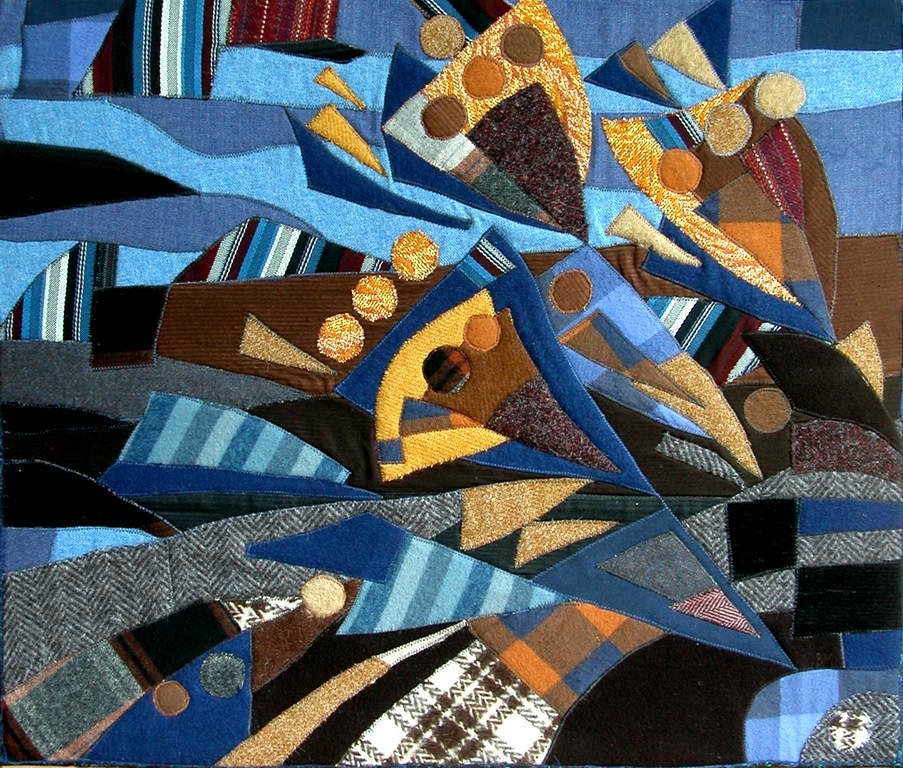
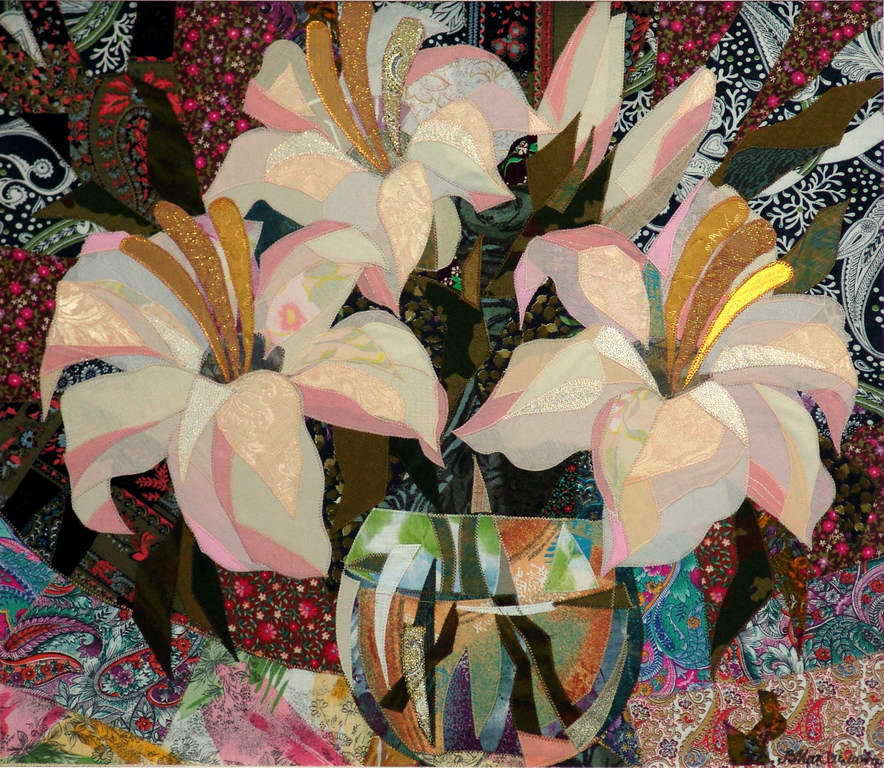
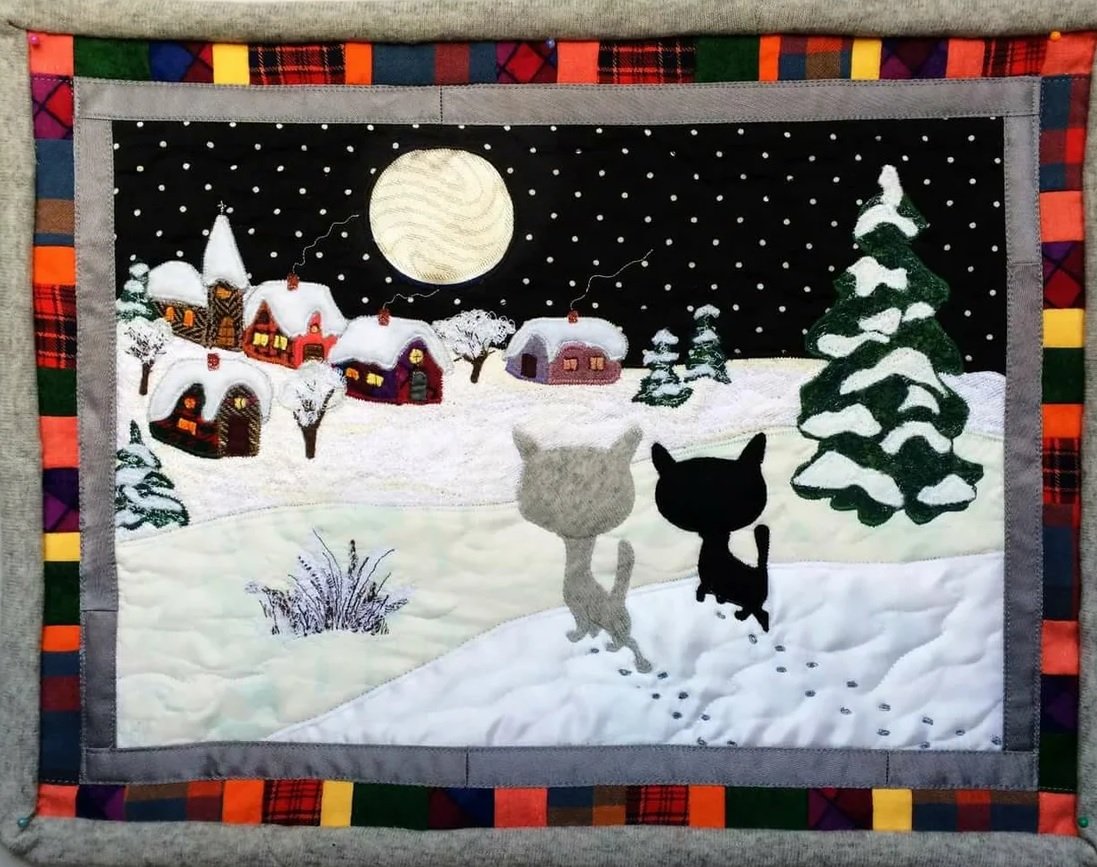
The patchwork has been known to mankind since about the tenth century AD, but it became widespread in North America in the 17-18 century. In Russia, during the time of total deficit, all scraps were “put to work” - they were not only sewn as patches to clothes, but they also performed highly artistic bedspreads, wall paintings. Fragments of various shapes had their own meaning - different in all countries. In this work, it is permissible to use both ordinary woven rags and parts of knitted fabrics connected with a hook and knitting needles.
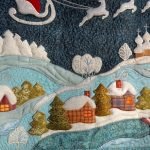
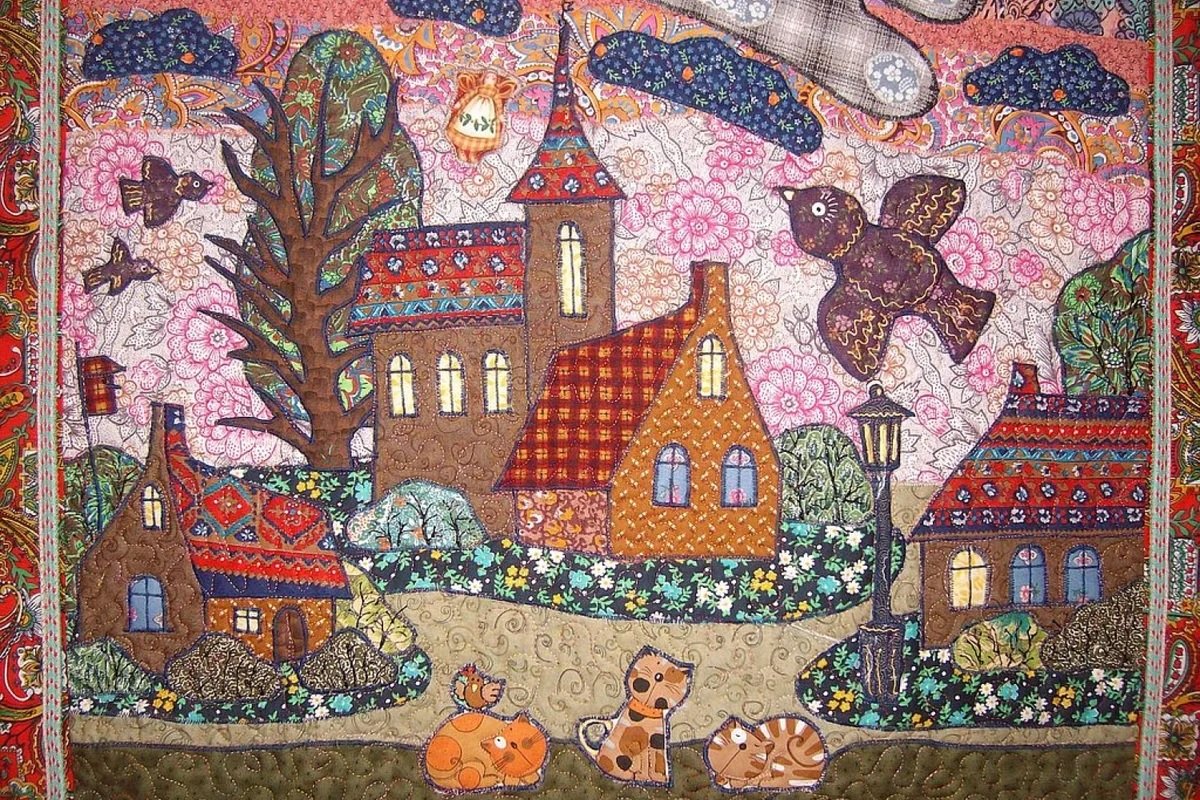
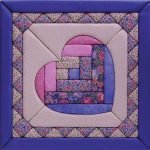
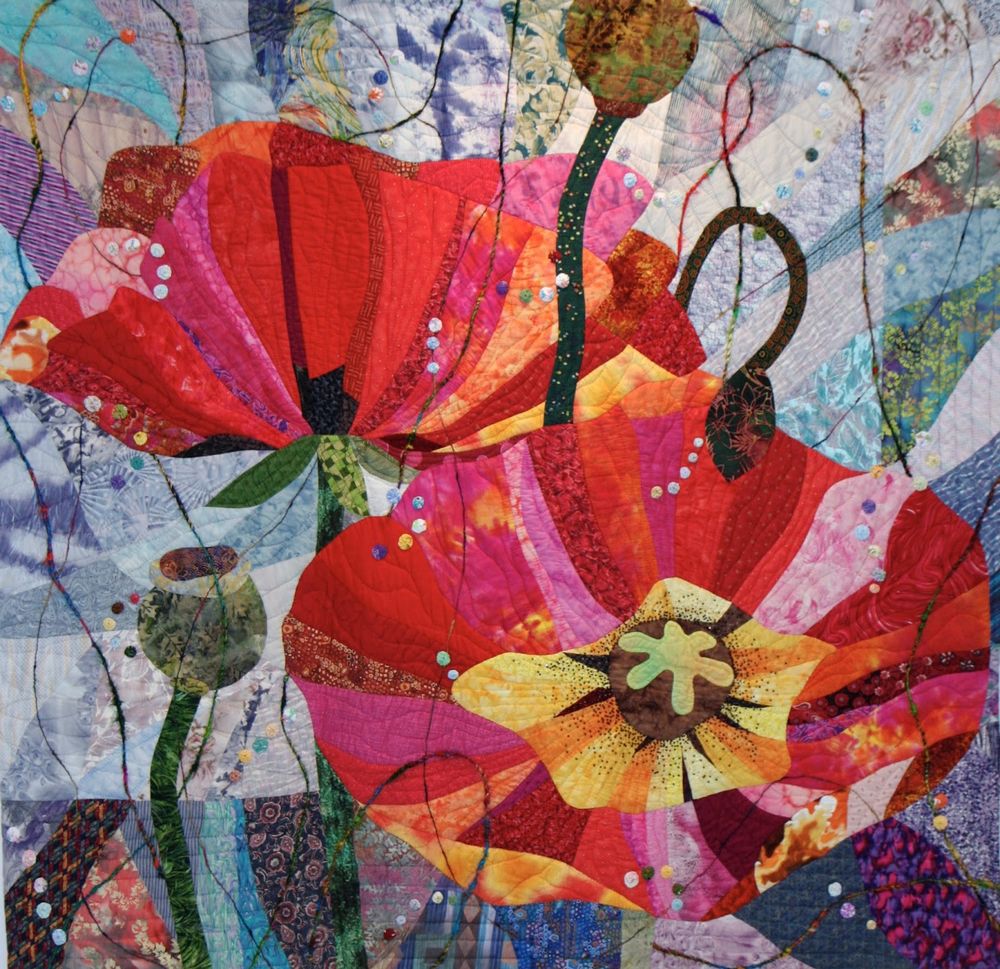
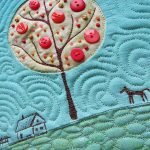
In the technique of quilting, multilayer clothing was originally created. The difference between this technique and patchwork is that the latter is performed in one layer and this is a pure patchwork technique. Quilting is voluminous, multi-layered; it implies the presence of a huge variety of stitches, applique, embroidery. To give softness and volume, a synthetic winterizer is used here, laid between two layers of a patchwork cloth.
Products made using the quilting technique, patchwork will perfectly decorate the interiors of the Provence, country styles, and due to the filler, they have a 3D effect.
From old jeans
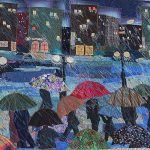
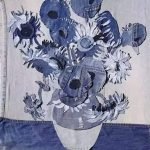
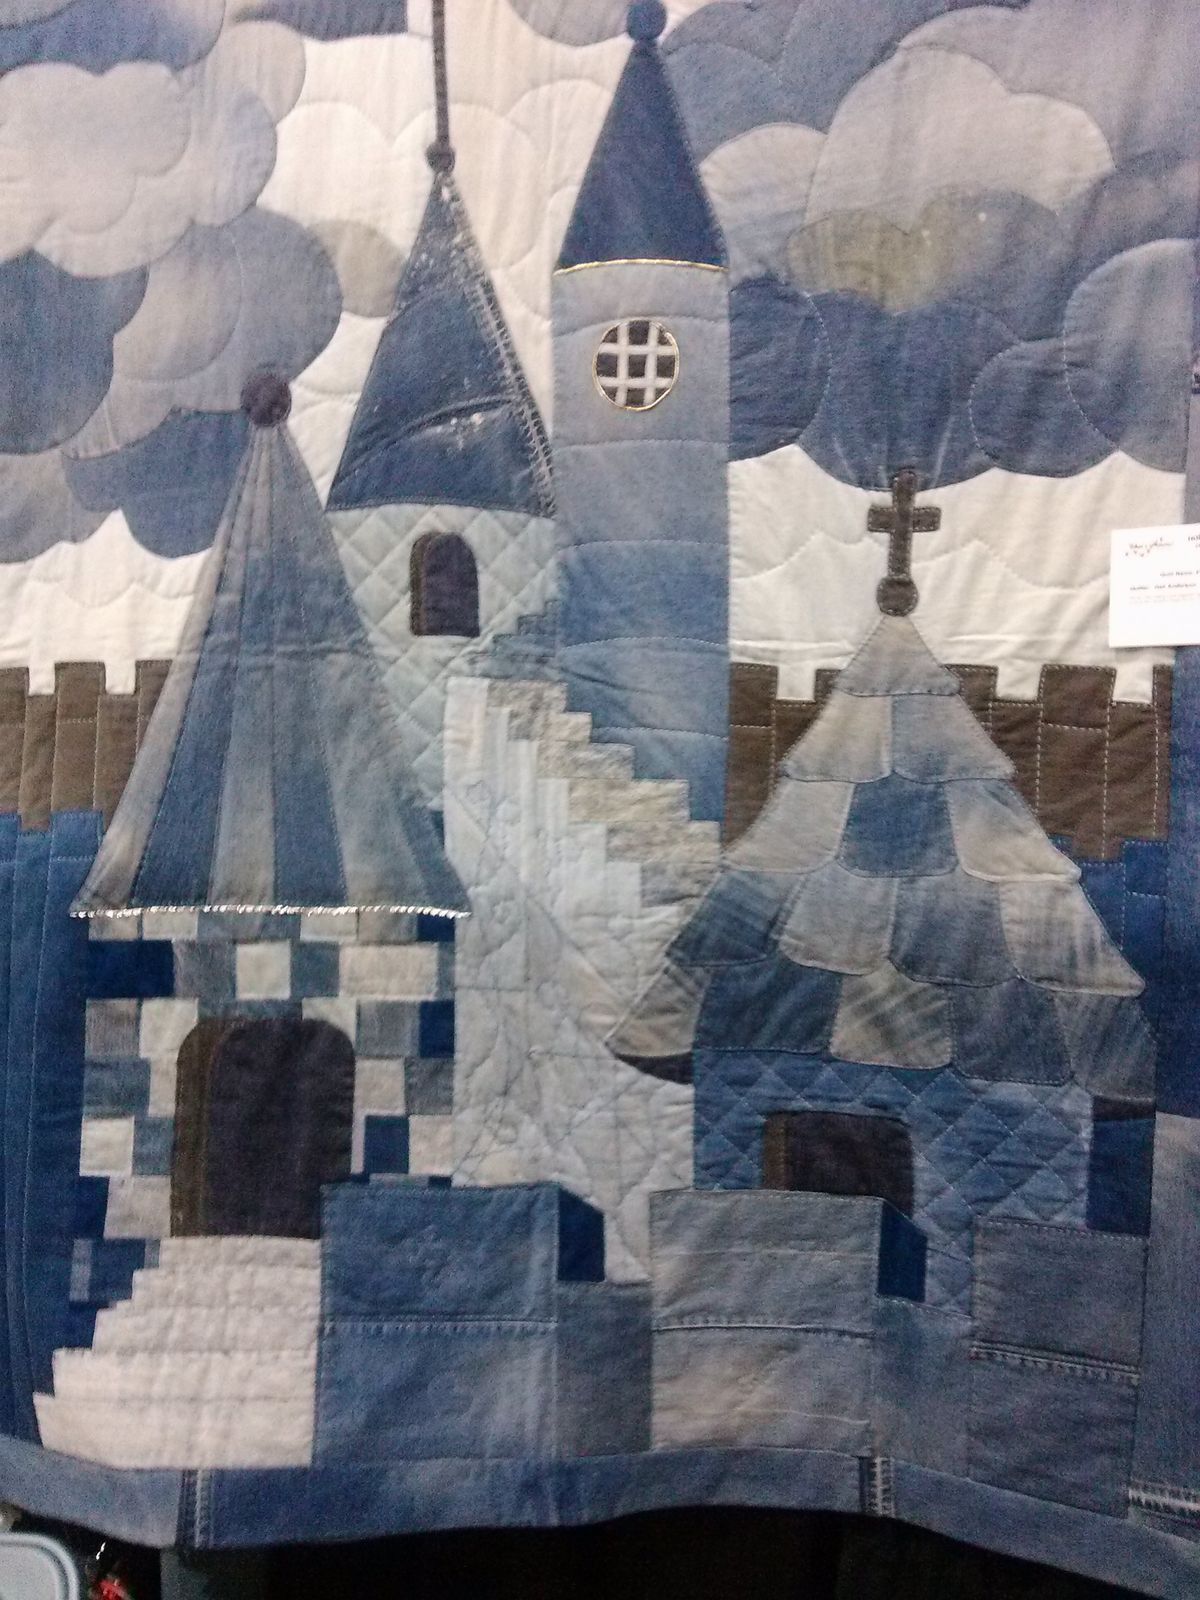
Jeans - comfortable in tailoring, always fashionable material having a wide range of shades. Due to the variety of tones, the abundance of jeans stitches, it is possible to create incredibly realistic panels from such textiles that are completely different from traditional patchwork. Most of the paintings are done in the denim on denim technique, and fragments that fade from time are used most often, as they have beautiful halftones. Popular themes here are urban, marine, as well as abstractions.The most beautiful jeans look on a dark or light background.
In parallel with jeans, it is permissible to use other materials with a similar texture, the best color combination is with yellow, white.
In the wet cloth technique
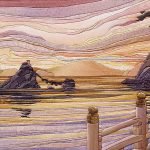
Most delicate fabrics can form beautiful draperies, especially when wet. To make the textile look wet but not lose shape, it is impregnated with glue, and a crumpled newspaper is placed under the bottom. Suitable slightly diluted with PVA water, freshly brewed paste. In this technique, types of nature, images of trees, birds, fish, animals, ancient buildings, etc. are usually performed.
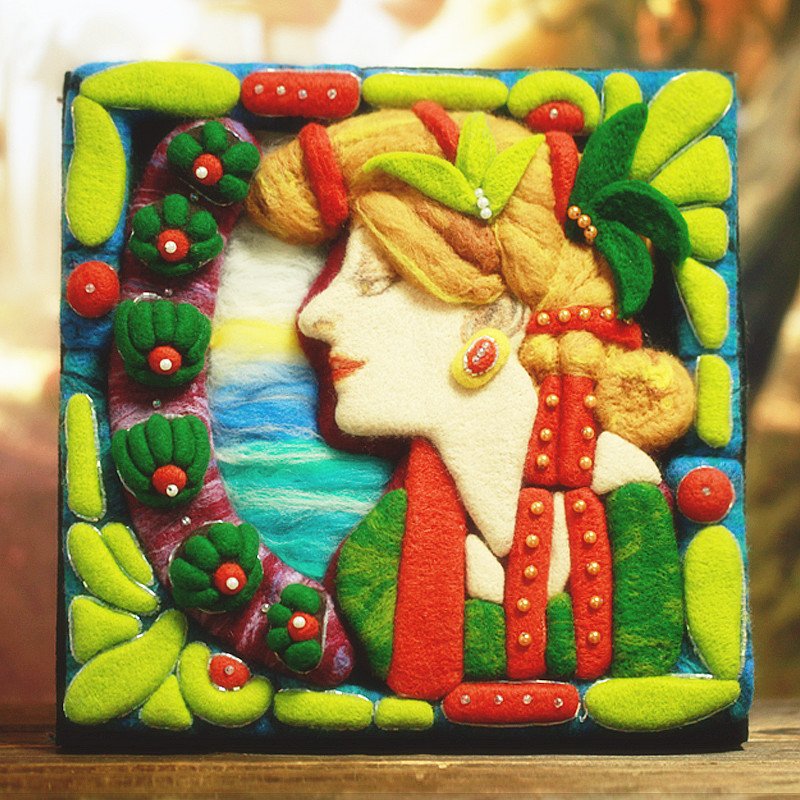
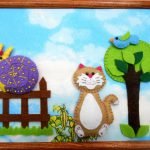
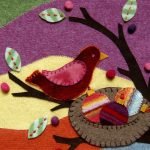
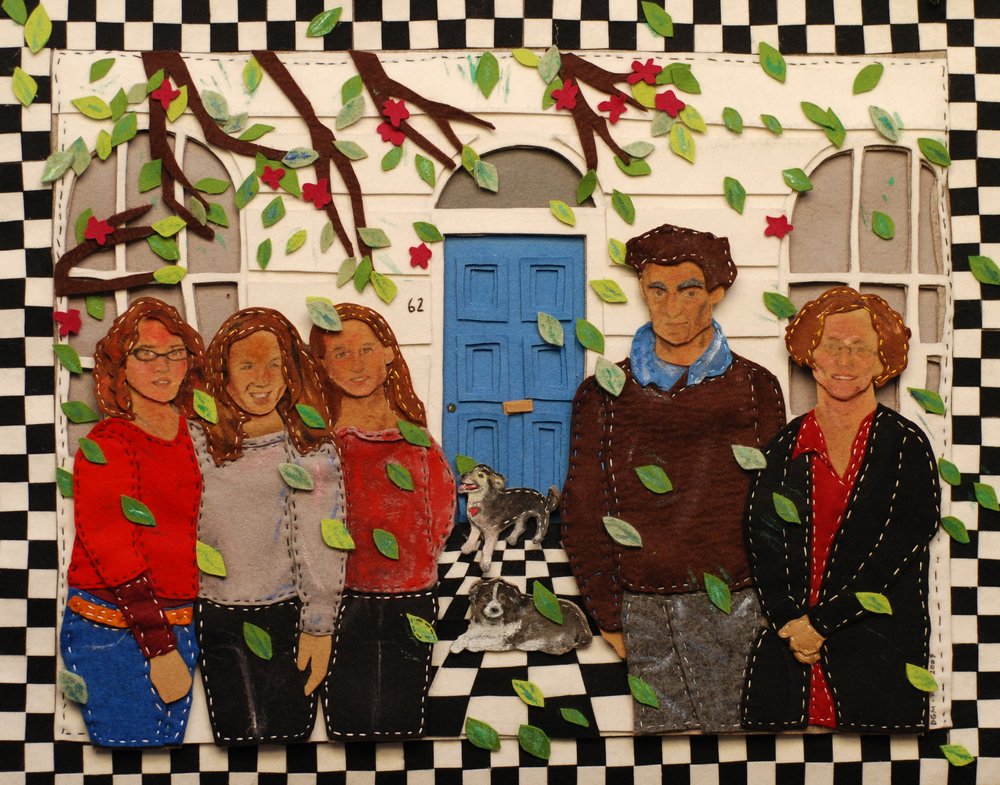
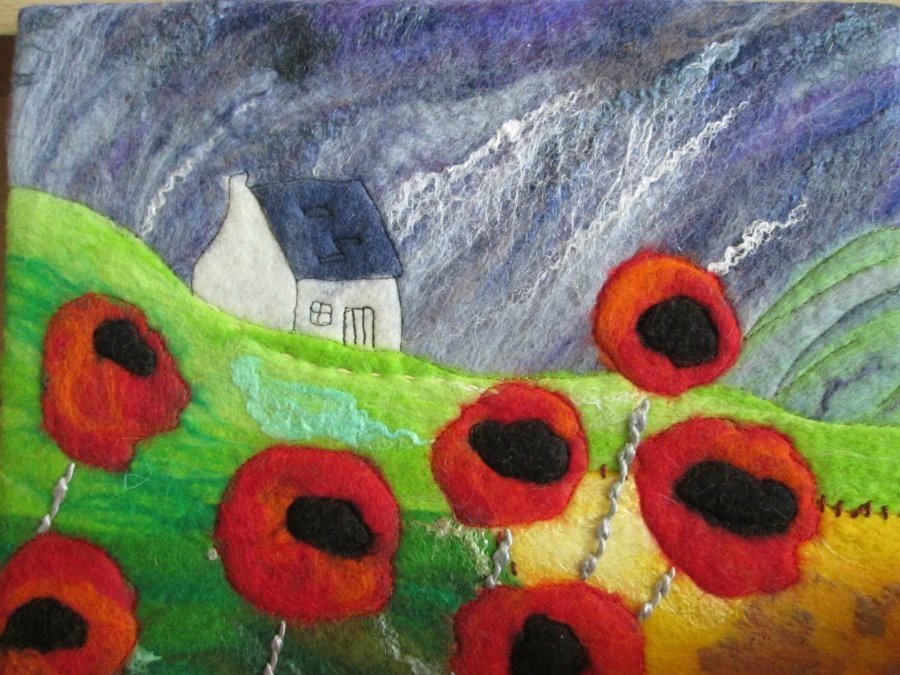
Felt applique
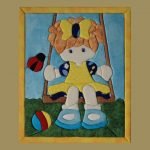
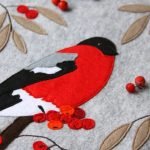
Felt is used in sewing, shoe manufacturing, in the form of grinding material, and its waste is used for needlework. Flat or voluminous felt composition is very simple, it comes out bright, original. A child’s room is usually decorated with such products, popular motifs are leaves, flowers, trees, fairy-tale cities, landscapes, still lifes. Stylized figures of animals, portraits of people are less often performed. The thickness of the material is from 1.3 to 5.1 mm; it is optimally suited for cutting figures with clear contours. Different types of it are used in different ways: woolen for volumetric jewelry, half-woolen for fine decoration, thin acrylic, and also viscose, polyester for applications.
To work with felt, you will need scissors, punches for eyelets of various diameters, tailor's crayons (for marking), colored threads, and beads for decoration. If you plan to perform volumetric pictures, you need a synthetic winterizer.
In sewing stores, whole sets of multi-colored felt are often sold in one package, including up to a dozen shreds of various colors and thicknesses.
Volumetric options
To make the picture voluminous, a number of techniques are used:
- filler - in its role is foam rubber, holofiber, various textile residues, cotton wool;
- wrinkled paper impregnated with paste, placed under the fabric;
- ribbons, textile balls, bows, flowers, made separately and sewn to a plain background;
- starched elements attached to the stretched fabric only partially;
- use of parts on a wire frame.
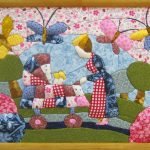
When working, you need to do everything carefully - cut out the parts strictly along the contour, stick them so that the glue does not smear. You will need a background - a plain fabric stretched over a cardboard, if desired, some of the elements are drawn on it manually. In this technique, volumetric insects, birds, bouquets of flowers, wild herbs, sailboats, whole villages are created.
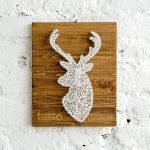
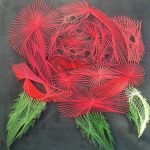
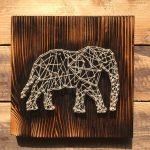
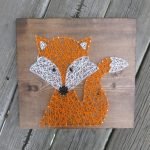
Of the threads - string art
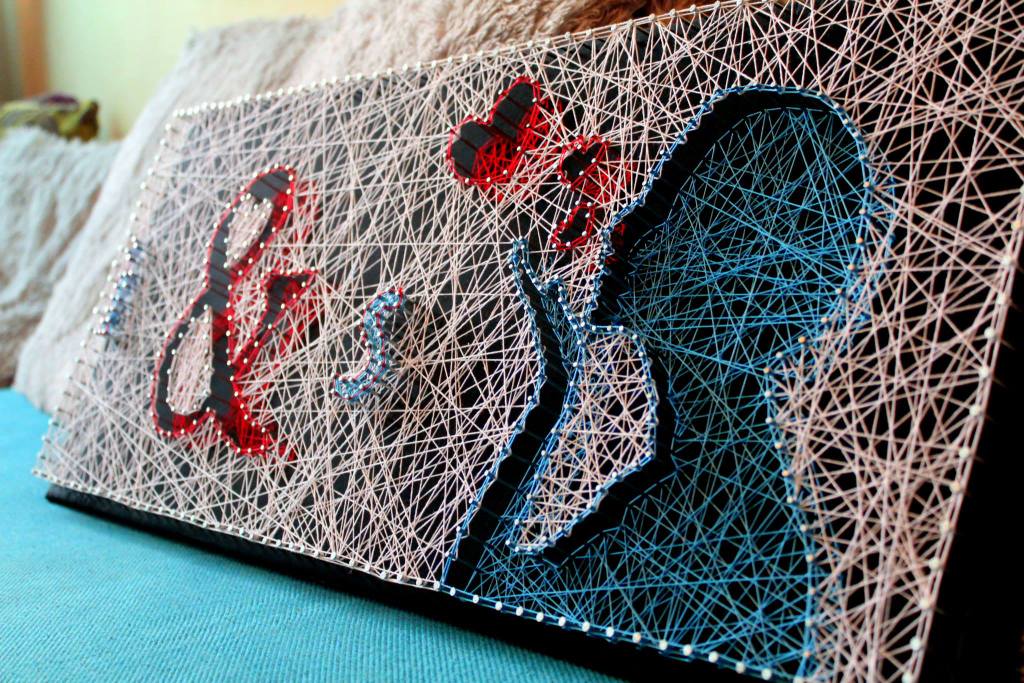
String art technique is the most original way to create images using hundreds of carnations, driven into a board, threads drawn on them. To create such a product, for a start familiarize yourself with the options for filling the basic elements - angles, circles. It is permissible to use any threads, but strong ones - they will have to be pulled tightly, otherwise they will sag over time, the product will lose its appearance. Cloves are stuffed at a distance of 0.6-1.2 cm from each other. The product comes out transparent, because it needs a contrasting background.
A similar product, made on a round board or ring, can be a colorful “mandala” or “dream catcher”.
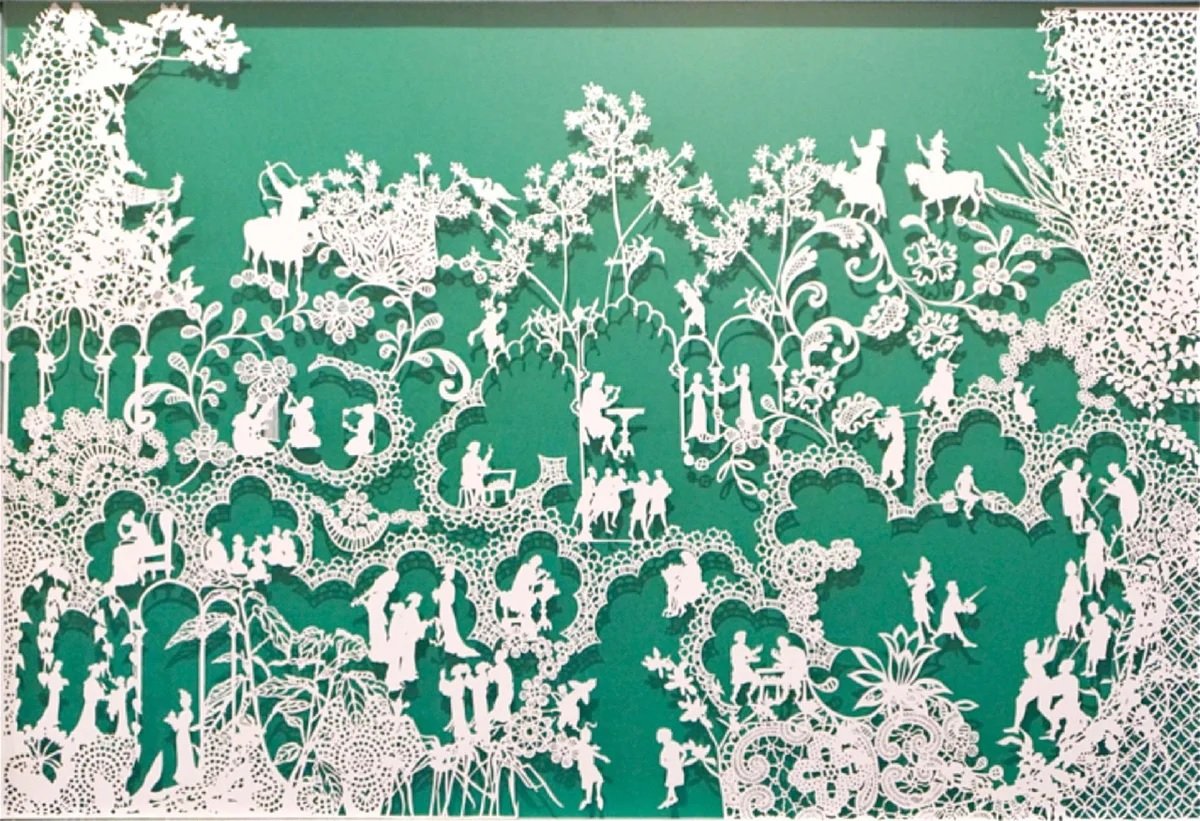
From lace
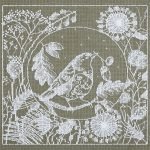
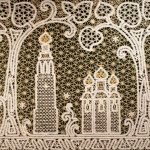
The lace of each nation was performed differently - each element denoted something. In modern times, not many people make sense in them, but such a patterned material is used very widely as a decor. Lacy paintings are made from purchased fragments or are manually knitted manually using a hook.
To complete a panel with lace, you need a frame, a base in the form of thick cardboard or plywood, covered with textile. Bonding is done using PVA glue. As an option, textile material is pulled onto the frame, and a lace napkin is carefully sewn onto it.
So that the picture does not gather dust, it is placed under a thin transparent glass.
Workshops on creating fabric work
The set of tools, materials for creating textile paintings is slightly different, depending on the specific technique. Here's what you might need:
- wooden frame;
- foam sheet;
- plywood, cardboard;
- straight and curly scissors;
- PVA glue, glue gun;
- yarn;
- color textiles;
- watercolor or gouache;
- needles;
- sewing threads;
- stapler;
- iron;
- small cloves;
- textile, wooden, plastic decor.
Many materials and some tools are interchangeable.
Tools, materials, techniques for painting in the Kinusaiga technique
Initially, such products were made as follows: the artist drew a diagram of the arrangement of parts on paper, after which the drawing was transferred to a plate in which grooves of up to two mm were cut. After the tissue was cut, which was inserted into the slots. Seam allowances here are not more than one or two mm.
In modern time, you will need to work:
- a piece of foam, a thickness of 1.5-2.5 cm, the size of the panel;
- patches of thin, poorly extensible, non-flowing fabric, at least three colors;
- scalpel or breadboard knife;
- sharp scissors;
- a nail file or a thin, flat pointed stick;
- children's coloring with a suitable pattern;
- copy paper;
- wooden frame.
Working process:
- the drawing is transferred through carbon paper to the foam;
- with a knife on the last, cuts are made along the contour of the image, with a depth of two to three mm;
- textiles are cut into fragments of a suitable shape;
- the patches are filled into the foam with a nail file;
- all excess is cut off, the panel is inserted into the frame or framed.
In this way, Christmas decorations, gift boxes, etc. are often made.
Tools, materials, instructions for the patchwork, quilting techniques
For patchwork, quilting, you will need:
- shreds of various colors;
- needles, threads;
- sewing machine;
- decorative elements;
- filler;
- sharp scissors;
- PVA glue;
- pencil on paper for sketch.
For such a product, it is not necessary to make a rigid foundation - if thin foam rubber, synthetic winterizer is laid between the layers, the object will keep its shape perfectly, especially if its dimensions are small. The most appropriate such pictures in the interiors of Provence, country, Scandinavian.
Working process:
- a sketch is drawn on paper, but you can use children's coloring, a printout from the Internet;
- the first layer of the product is plain plain textile, the second is bulk filler, the third is the patchwork pattern of many elements;
- all three layers are necessarily quilted with machine or manual seams;
- shreds will be required for work - the more the better. The color scheme depends on the specific idea;
- the background is not necessarily made monophonic - sometimes it is sewn from squares, and the picture is sewn on top - flowers, houses, animals, figures of people;
- the stitch is made in parallel, zigzag lines, in a circle, spiral or randomly;
- lace, fringe, fabric flowers, satin ribbons are used for additional decor;
- small panels are hung from the wall by a loop at the top.
Materials, tools, step-by-step instructions for jeans
One of the most necessary items when working with jeans is very sharp scissors, with the help of which elements of the most complex configuration are easily cut. From such material it is easy to make panels resembling photographs.
What you need to work:
- whole pieces of jeans of various shades - preferably without scuffs, seams, although in some cases even pockets are used;
- sewing threads - in tone of fabric or contrasting (yellow, red, white);
- a piece of fiberboard to create a background;
- fabric glue;
- needles, scissors;
- acrylic or special fabric paint;
- paper, ruler, pattern, pencil - for sketching;
- burlap, bows, buttons, satin ribbons - for decoration.
Work process:
- for the background, identical squares of different shades are cut out - they are sewn together in a checkerboard pattern (dark-light-dark-light) or in the form of a gradient transition;
- then decorative parts are drawn on paper - leaflets, seals, ships, stars, flowers, houses and more;
- these figures are transferred to the jeans, cut out, glued or sewn to the background;
- after they sew on a small decor;
- the edging is no less important - it is made of a jeans braid. A braid is woven from three to four strips about one cm wide;
- The pigtail is sewn around the perimeter of the picture, the product is attached to the fiberboard using a stapler, glue gun.
Denim panels - a great idea for decorating rooms in the style of hi-tech, techno, pop art.
Tools, materials, instructions for creating pictures in the technique of "wet cloth"
To perform a work of art from the "wet fabric" you will need a thin fabric, a paste, which is made from flour with water. This is done as follows: flour and water are taken in a ratio of one to three, the water must be boiled, with a thin stream, constantly stirring, add flour, remove from heat. If lumps nevertheless have formed, the solution is wiped through a sieve. You will also need a fiberboard sheet, a thin fabric, preferably cotton, unprinted, some old newspapers, small pebbles.
Further work progress:
- a sketch of the future picture is made on paper;
- material laid out on a flat surface is carefully coated with a thick paste;
- on the side that is smeared with paste, the fabric is applied to the fiberboard sheet, which should be six to eight cm smaller on each side than the piece of fabric;
- part of the design is almost smooth, the rest is textured. This is the sky above and the sea in the lower part, a volumetric bear on a smooth glade, a house on the grass, etc .;
- where there will be a smooth background, the surface is carefully leveled by hands to make folds, pinch them, putting a newspaper, previously moistened with paste;
- then the work is dried by a hairdryer, fan or in a draft;
- the picture is painted by hand using acrylic, gouache paints, brushes, spray cans;
- various natural and artificial materials are used as decor - cereals and seeds (buckwheat, millet, poppy, lupine), small pebbles, moss, dried grass, all kinds of beads, rhinestones.
When using natural materials, they are varnished for durability.
Materials, tools, instructions for making paintings from felt step by step
To work with felt, you need:
- sharp straight, wavy, "serrated" scissors;
- colored shreds of felt;
- needles, sewing threads;
- filler - synthetic winterizer, synthetic winterizer, holofayer, foam rubber, small textile trimmings;
- pins
- crayons or pointed pieces of soap;
- PVA glue or other suitable for fabric;
- decor - bows, beads, buttons, ribbons.
Step-by-step work process:
- a sketch is drawn on paper, its individual elements are cut out;
- cut parts are fixed on felt, cut along the contour. If there are internal elements, you need to cut them out;
- 3D images are usually made of two identical parts;
- the resulting figures are applied to the background fabric, previously fixed on plywood, cardboard, glued or sewn with decorative seams;
- as an option - wallpaper used on a cardboard or colored paper is used as a background;
- then the smallest elements are sewn and embroidered - eyes, smiles, veins of leaves, flowers, beads.
A felt needlework is sometimes made functional - its parts turn into pockets for all kinds of useful little things.
Tools, materials, step-by-step instructions for paintings in the Osie technique
To complete the pictures in a technique called “axis”, you will need:
- multi-colored shreds;
- stained glass window stencil or coloring;
- thick and thin cardboard, plywood;
- thin foam rubber;
- glue "Moment", PVA;
- colored yarn.
How it's done:
- light threads are glued over the background, dark - framing;
- all details are cut out of paper, transferred to foam rubber, fabric, cardboard, glued together;
- elements are glued to the background as close as possible relative to each other, the item is dried under a press;
- the finished product is suspended on several loops fixed to the crossbar.
How to care for fabric paintings
Like any other product, a picture of fabric requires care. It is important to consider that the materials from which the panel is made must be washed and ironed before starting work. It is better to insert the finished work in a frame with glass - so the product will not get dirty, collect dust. If the artwork is hanging on the wall without glass, it is periodically necessary to brush off the dust with a soft brush.
Conclusion
To create a real textile work of art for decorating the interior is not difficult if you have only a few pieces of fabric, thread, needles, scissors. Fabric decor is very popular at present. Such works participate in exhibitions, and all new master classes on their production appear on the Internet daily. Some craftsmen even turn their "patchwork hobby" into a real, very profitable business, performing a series of highly artistic works on order.



 (4 ratings, average: 4,00 out of 5)
Thanks for such a voluminous material !!! Inspired !! Went to try !! Good luck to you!!